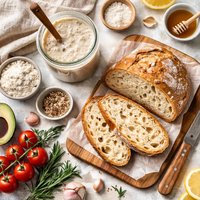
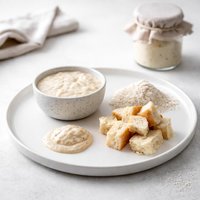
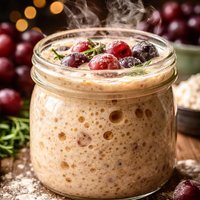
Wild Yeast Sourdough Starter
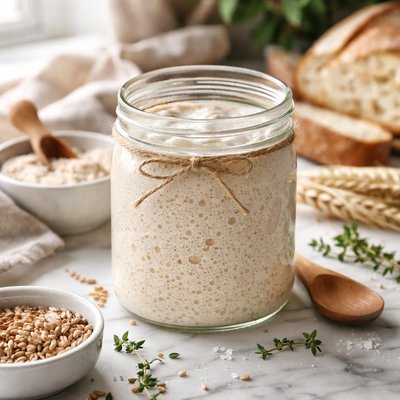
Begin your sourdough baking journey with this simple yet rewarding Wild Yeast Sourdough Starter recipe! Using just two ingredients—unbleached flour (all-purpose or whole wheat) and filtered water—this guide walks you through the five-day process of cultivating wild yeast for a naturally leavened, tangy sourdough base. Each step ensures a vibrant, bubbly starter full of natural flavor, perfect for creating artisan-quality breads and baked goods. With detailed tips on feeding, maintenance, and storage, this recipe is ideal for beginners and seasoned bakers alike. Transform your kitchen into a sourdough haven while mastering the art of wild yeast fermentation!
Smart Nutrition Tracking with SnapCalorie
Recipe Information
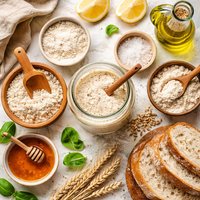
Ingredients
- 60 grams Unbleached all-purpose flour or whole wheat flour
- 60 grams Filtered water (room temperature)
Instructions
Day 1: In a clean jar or container, mix 60 grams of unbleached all-purpose flour or whole wheat flour with 60 grams of filtered room temperature water. Stir until you achieve a smooth, pancake-batter-like consistency. Cover loosely with a lid or a clean cloth to allow air circulation. Let it sit at room temperature (preferably around 70–75°F/21–24°C) for 24 hours.
Day 2: Check your jar for activity. You may start to see a few bubbles or notice a slightly tangy smell. Discard half of the mixture (about 60 grams) and feed the remaining starter with 60 grams of flour and 60 grams of water. Mix well and cover loosely again. Let it sit at room temperature for another 24 hours.
Day 3: By now, you should see more noticeable bubbling and rising. Repeat the process: discard half the starter, then feed it again with 60 grams of flour and 60 grams of water. Mix, cover loosely, and let it sit for another 24 hours.
Day 4: The starter should be rising and bubbling consistently, and it will likely have a pleasant sour smell. Discard half the starter and feed it with 60 grams of flour and 60 grams of water. Continue to maintain it at room temperature for another 24 hours.
Day 5: Your starter should now be ready to use. It should double in size within 4–6 hours after being fed, have a bubbly surface, and a tangy aroma. To maintain the starter, discard half and feed it once a day if kept at room temperature, or refrigerate it and feed it once a week.
Optional Maintenance Tip: If you plan to bake regularly, keep the starter at room temperature and feed it daily. If not, you can store it in the refrigerator and feed it weekly by discarding half of it and feeding with equal parts flour and water.
Nutrition Facts
Calories |
228 | ||
|---|---|---|---|
% Daily Value* |
|||
| Total Fat | 0.6 g | 1% | |
| Saturated Fat | 0.1 g | 1% | |
| Polyunsaturated Fat | 0.0 g | ||
| Cholesterol | 0 mg | 0% | |
| Sodium | 2 mg | 0% | |
| Total Carbohydrate | 47.8 g | 17% | |
| Dietary Fiber | 1.7 g | 6% | |
| Total Sugars | 0.1 g | ||
| Protein | 6.5 g | 13% | |
| Vitamin D | 0.0 mcg | 0% | |
| Calcium | 10 mg | 1% | |
| Iron | 2.2 mg | 12% | |
| Potassium | 54 mg | 1% | |
*The % Daily Value tells you how much a nutrient in a serving of food contributes to a daily diet. 2,000 calories a day is used for general nutrition advice.
