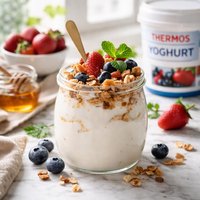
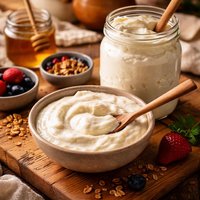
For Diabetics Low Fat Yoghurt

Discover the perfect balance of health and flavor with this "Low-Fat Yoghurt for Diabetics" recipe, a wholesome homemade treat tailored to support a diabetes-friendly lifestyle. Crafted with just a handful of simple ingredients like low-fat milk and live yoghurt as a natural starter culture, this recipe yields a creamy, probiotic-rich yoghurt that’s both low in carbs and free from added sugars. Customize its flavor with optional vanilla extract or a touch of stevia for subtle sweetness without the guilt. With only 10 minutes of prep time and a fermentation process that enhances gut-friendly benefits, this yoghurt is ideal as a nourishing breakfast, snack, or dessert base. Pair it with fresh berries or a sprinkle of cinnamon for a diabetes-conscious twist on classic toppings. Healthy, delicious, and incredibly easy to make, this yoghurt fits seamlessly into any low-fat or diabetic-friendly diet.
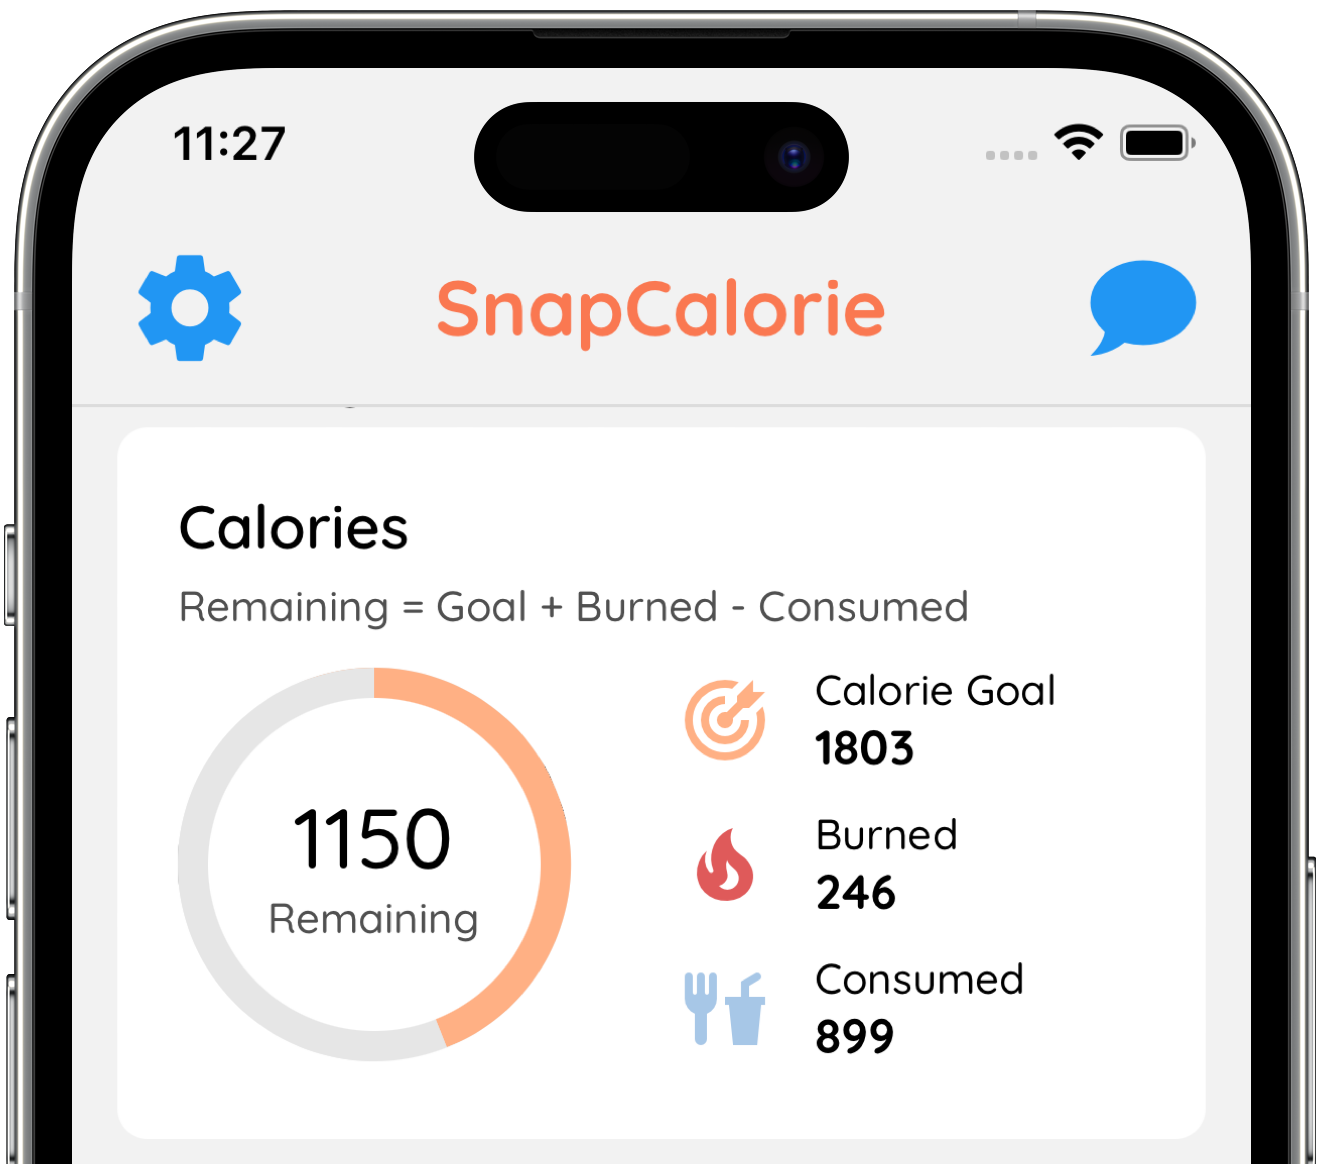
Smart Nutrition Tracking with SnapCalorie


Recipe Information
Ingredients
- 4 cups Low-fat milk
- 2 tablespoons Plain live yoghurt (as a starter culture)
- 1 teaspoon Vanilla extract (optional)
- 1 teaspoon Stevia or erythritol sweetener (optional)
Instructions
Pour the low-fat milk into a medium-sized saucepan and heat it over medium heat until it reaches about 180°F (82°C). This is just before it starts to simmer. Stir occasionally to prevent the milk from scalding.
Once heated, remove the milk from the heat and allow it to cool down to around 110°F (43°C). This is important, as temperatures above this could kill the live cultures in the yoghurt starter.
In a separate bowl, mix the plain live yoghurt with a small amount of the cooled milk to create a smooth consistency. This will make it easier to incorporate into the rest of the milk.
Gently stir the yoghurt mixture into the cooled milk until fully combined. If desired, add vanilla extract and/or a sugar-free sweetener like stevia or erythritol at this stage and mix well.
Pour the yoghurt mixture into a clean container or yoghurt maker, ensuring it's evenly distributed. If you don't have a yoghurt maker, use an insulated container or wrap the container in a towel to maintain warmth.
Allow the mixture to ferment in a warm place for 6 to 8 hours, or until the yoghurt thickens to your desired consistency. The longer it ferments, the tangier the yoghurt will be.
Once fermented, transfer the yoghurt to the refrigerator and chill for at least 2 hours before serving. This will help set it further and enhance the texture.
Serve plain or garnish with fresh berries, a sprinkle of cinnamon, or nuts for added flavor (optional for non-diabetic-friendly toppings). Store any leftovers in an airtight container in the refrigerator for up to a week.
Nutrition Facts
Calories |
85 | ||
|---|---|---|---|
% Daily Value* |
|||
| Total Fat | 3.5 g | 4% | |
| Saturated Fat | 2.2 g | 11% | |
| Polyunsaturated Fat | 0.0 g | ||
| Cholesterol | 13 mg | 4% | |
| Sodium | 83 mg | 4% | |
| Total Carbohydrate | 8.3 g | 3% | |
| Dietary Fiber | 0.0 g | 0% | |
| Total Sugars | 7.7 g | ||
| Protein | 5.5 g | 11% | |
| Vitamin D | 1.7 mcg | 8% | |
| Calcium | 206 mg | 16% | |
| Iron | 0.0 mg | 0% | |
| Potassium | 9 mg | 0% | |
*The % Daily Value tells you how much a nutrient in a serving of food contributes to a daily diet. 2,000 calories a day is used for general nutrition advice.
