Cultured Buttermilk
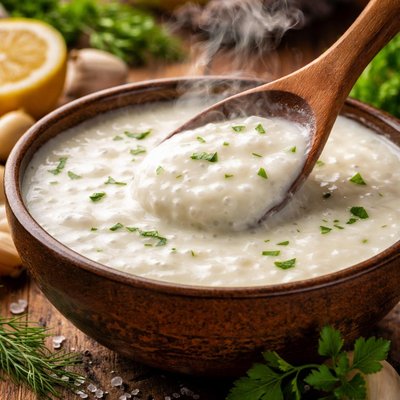
Transform your kitchen into a mini fermentation lab with this easy and rewarding recipe for homemade Cultured Buttermilk! Using just two simple ingredients—whole milk and store-bought cultured buttermilk as a starter—you can create a creamy, tangy buttermilk packed with probiotics right at home. Perfect for baking, marinades, salad dressings, or as a flavorful ingredient in your favorite recipes, this DIY cultured buttermilk is as fresh as it gets. The preparation involves a quick 5-minute setup, followed by a hands-off culturing process that allows beneficial bacteria to work their magic in a warm, cozy corner of your kitchen. With its silky texture and signature tang, this recipe ensures you’ll never need to grab a store-bought carton again. Make it in advance, and enjoy the homemade charm of buttermilk that stays fresh for up to two weeks in your fridge!
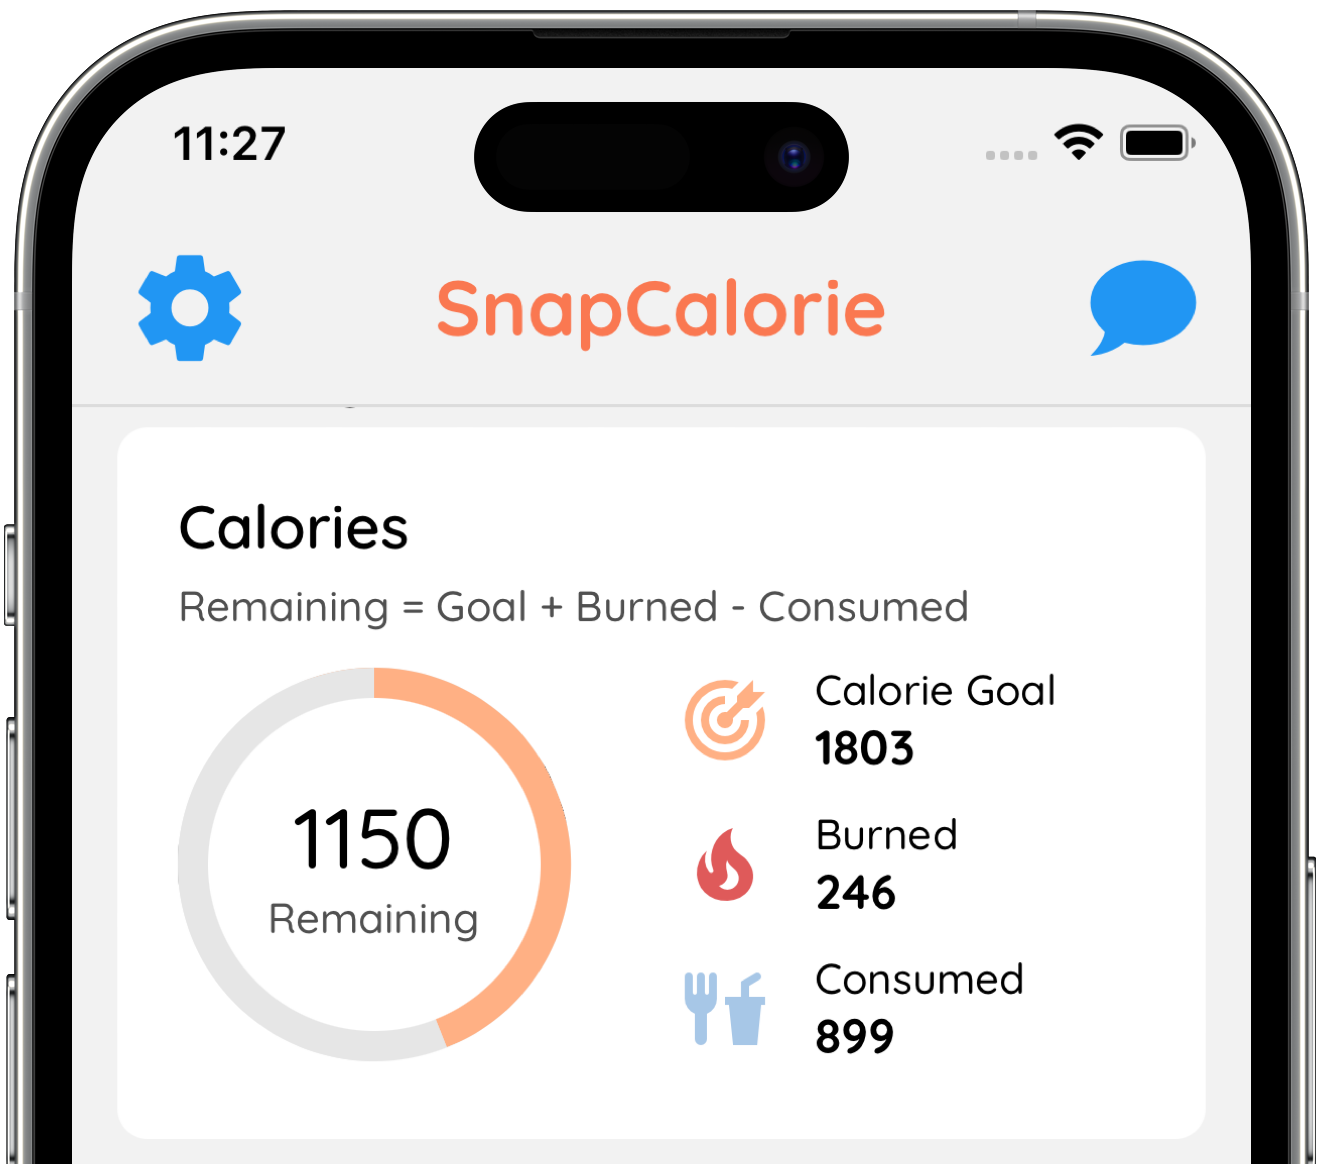
Smart Nutrition Tracking with SnapCalorie


Recipe Information
Ingredients
- 4 cups Whole milk
- 4 tablespoons Store-bought cultured buttermilk
Instructions
Start with a clean glass jar or container that can hold at least 4 cups of liquid. Make sure it is sterilized to ensure the success of the culturing process.
Pour 4 cups of whole milk into the jar. Use whole milk for the creamiest results, but 2% milk will also work.
Add 4 tablespoons of store-bought cultured buttermilk to the milk. The cultured buttermilk serves as the 'starter' and will introduce the necessary live bacteria.
Stir the mixture thoroughly with a clean spoon to evenly distribute the starter buttermilk into the milk.
Cover the jar loosely with a clean lid or a piece of cheesecloth secured with a rubber band. This allows air circulation while keeping contaminants out.
Place the jar in a warm, draft-free area of your kitchen, ideally where the temperature is between 70–75°F (21–24°C). Let the mixture sit undisturbed for 12–24 hours.
After 12–24 hours, check the consistency of the buttermilk. It should be thickened and have a tangy aroma. If it has not thickened, let it sit for a few more hours in the same warm environment.
Once the buttermilk has fully cultured, give it a gentle stir, cover it tightly, and refrigerate it. It will thicken slightly more as it cools.
Store the cultured buttermilk in the refrigerator for up to 2 weeks. Before using, give it a quick stir, as natural separation may occur.
Nutrition Facts
Calories |
79 | ||
|---|---|---|---|
% Daily Value* |
|||
| Total Fat | 4.3 g | 5% | |
| Saturated Fat | 2.7 g | 14% | |
| Polyunsaturated Fat | 0.0 g | ||
| Cholesterol | 13 mg | 4% | |
| Sodium | 61 mg | 3% | |
| Total Carbohydrate | 6.3 g | 2% | |
| Dietary Fiber | 0.0 g | 0% | |
| Total Sugars | 6.3 g | ||
| Protein | 4.3 g | 9% | |
| Vitamin D | 1.6 mcg | 8% | |
| Calcium | 147 mg | 11% | |
| Iron | 0.0 mg | 0% | |
| Potassium | 174 mg | 4% | |
*The % Daily Value tells you how much a nutrient in a serving of food contributes to a daily diet. 2,000 calories a day is used for general nutrition advice.
